
Discussions on isometric strength training are everywhere. So much so that we created a course on it… Because there is often confusion when it comes to the testing, programming and implementation of this training modality, we asked Alex Natera six questions to help coaches gain clarity on certain aspects of isometric testing and training.
How do you assess isometric strength so you can program isometric training off the back of it?
Let’s approach this from the three main running based isometric exercises for the ankle, knee and hip.
No matter what isometric assessment you are looking at, force plates are almost essential. They are the gold standard for force assessments, and the systems available make it easy to collect data, provide instant feedback to athletes, store the data and analyze it later when evaluating your isometric training.
If force plates are not available, a strain gauge can be a more cost effective alternative and produce reliable results.
By first measuring the maximal force output during a pushing isometric muscle action (PIMA), we can then accurately prescribe holding isometric muscle actions (HIMA) off the back of the data.
If we start at the ankle, it’s important to measure with the knee extended and with the forefoot – rather than the midfoot – under the bar. That posture and alignment will provide a very slight forward lean of the body. Then, position the bar on the athlete’s back. When the athlete takes the full slack out of the system and attempts to plantarflex as hard as they can, the heel hovers at about a 5 degree angle. You will see a slightly plantarflexed ankle, but because of the lean forward, it’s quite neutral. It’s almost a 90 degree angle with a slight heel elevation.
We start with the knee extended to minimize any force input from leg extension or knee extension. You should cue: “Lift your heel as hard as you can,” basically a calf raise on a single leg.
The joint angles for the knee and the hip derive from the mid-stance position of running. The knee angle should be 140-145 degrees, which you can measure simply with a goniometer. It’s important to take this measurement during the maximal isometric contraction (90-100% effort), as athletes commonly find extra range and extend to a greater degree during the higher intensity efforts compared to warm ups at 70 or 80%.
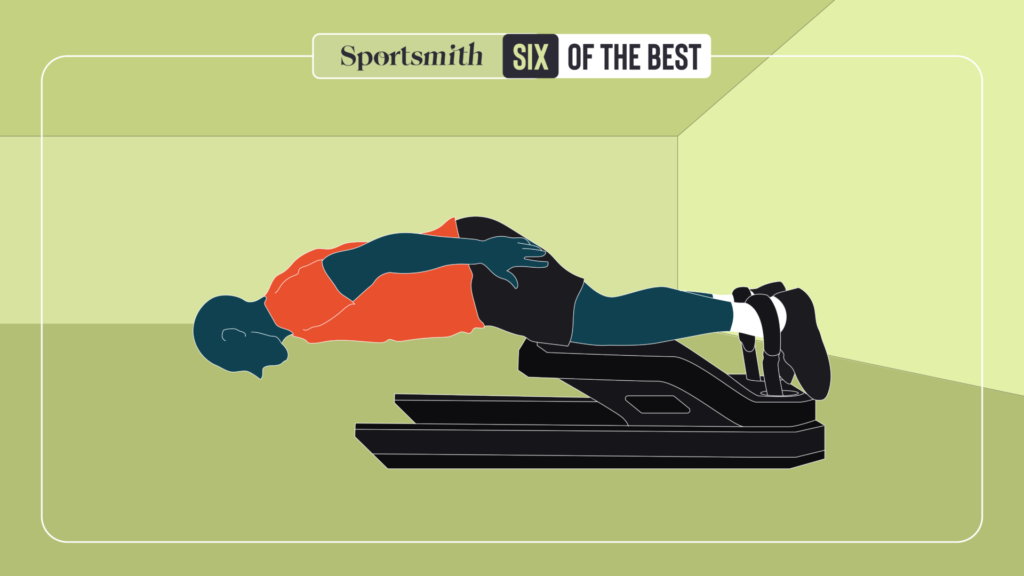
The hip angle is 160-165 degrees, so the trunk is upright in the testing rack for the isometric knee assessment, or laying supine with the upper body elevated on a box or bench for the hip assessment. But the trunk, hip and knee angles are similar in both.
With the correct equipment and staffing preparations, it’s possible to complete all three isometric assessments on the same day with a mass cohort of athletes.
The key is to familiarise the athletes with the testing and take all the set up measurements – joint angles, height on the isometric test rack – on a separate occasion (e.g., the day before). That way you can group athletes by size and set the test order depending on your rig set up and access to force plates.
During all maximal isometric strength tests, the initial set up and cueing is important. First, you need a bodyweight measurement on the force plate. Before any push or pull action there needs to be about 5% of pre-tension (relative to bodyweight), which you can see on the live trace from your force plate software. Pre-tension is only about 2.5% of bodyweight for the hip isometric push.
When you are happy with the level of pre-tension, cue the athlete “three, two, one… PUSH!”
Athletes will need about 3-5 seconds to achieve maximal force output, and they have this time to hit their best result over multiple efforts.
You’ll need a different cue to examine rate of force development, as the athlete will now be pushing “as hard and as fast as possible.” That will produce the time specific force measure.
Very fast, explosive athletes – the RFD-focused types, like sprinters – will get up to three quarters of their peak values on the knee iso push in 100 ms. Less explosive athletes will be at around 60% of their maximal force after 100 ms, even though they might ultimately have a nice, huge max force of 5x body weight.
Tweet ThisBy first measuring the maximal force output during a pushing isometric muscle action (PIMA), we can then accurately prescribe holding isometric muscle actions (HIMA) off the back of the data
@alex_natera
How do you program isometrics without a force plate?
I have been very fortunate in my career to always be around force plates and, therefore, able to quantify everything. Getting gold standard data to know where you’re at enables much better training prescription. But what if you don’t have a force plate?
Athletes can perform PIMAs against immovable objects. But, if you don’t know how strong you are, you might think you’re near maximum. An athlete might feel like they’re doing enough, but they’re probably only pushing at 60 or 70%.
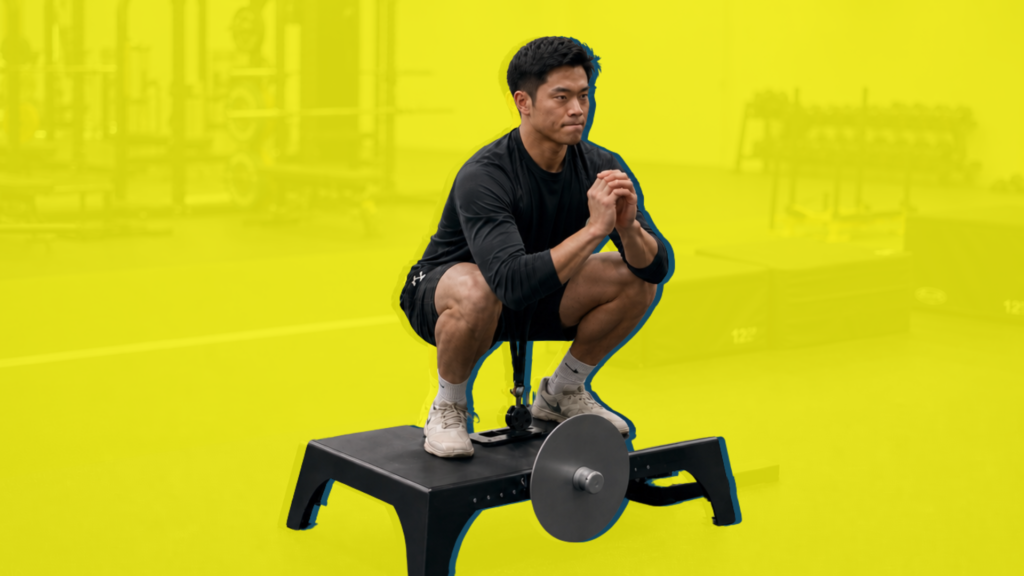
Our run specific isometric exercises provide a way to quantify this for both the knee and ankle. Have the athlete set up in a squat rack or Smith machine, which is the better option due to the greater stability. The athlete then performs a pushing isometric against a heavily loaded barbell. If they move it, you know it’s not their maximum isometric force because they’re moving it concentrically. So, add more weight. If they move it again, repeat the process. Keep adding weight until they can’t move the bar, and now you know their maximum value. That’s the data you need to program both pushing and holding isometrics.
The downsides to this method is the amount of time it takes, and the number of plates you will have to load. Athletes may perform single leg isometric knee pushing actions at over 3,500 N (over 350 kg).
The g-Strength Crane Scale produced by Exsurgo Technologies is a great poor man’s force plate. These products have been validated against force plates for the measurement of peak force, are very reliable and provide instant feedback.
They are also a great tool because they’re so portable. You can bring them around the gym and quantify isometrics in any exercises your athletes are doing. Just attach them to different bands, tie downs or even chains.
Where do isometrics fit into the session?
This is a question that comes all the time: “How do I do it?”
In a team sport environment, one of the best approaches is microdosing isometric exercises throughout the training week. During the competition period, you may find yourself microdosing isometrics up to four or five times per week, depending on the level of athlete you are working with.
Isometric training, especially long duration HIMAs, have an analgesic effect and reduce pain perception. On MD+1 or MD+2, then, you can prescribe some therapeutic loading. You can target athletes who are normally sore in the tendons, but it’s also a good opportunity to get another dose into the whole squad.
On the main gym sessions on MD+3 or MD+4, isometric training doesn’t have to replace traditional training. Don’t skip out on your power cleans and squats.
A really good way to warm up for isometric training is to perform a heavy double or triple repetition squat, for example. This puts a good load on the athlete’s back, preparing them for pushing 5-6x body weight loads through the back during a single leg knee iso-push exercise.
It would make sense to include ballistic PIMA focussed more on RFD with an intent to produce force as fast as possible.
Then, later in the week and closer to game day (e.g., MD-1 during the final field training session), you could incorporate isometric training as a priming session. A rate of force development isometric focus induces a nice heightened neuromuscular response without any fatigue.
The game day warm up offers another chance for a priming dose and, for athletes that need it, some longer duration holds with a tissue focus and analgesic response.
Tweet ThisIn a team sport environment, one of the best approaches is microdosing isometric exercises throughout the training week
@alex_natera
How can you overlay isometrics with traditional strength training?
There are plenty of ways to integrate isometric exercises effectively in a training program. Integrate is the key word here. When I discuss isometric training, I am never advocating for completely removing traditional strength training.
However, you could still go to the extreme and pull traditional training out of an athletes’ program. It’s a big decision, but one that I am more than comfortable doing because I have seen the results first hand.
I am also a big squat man, and I think you can get so many performance gains out of the squat. At the end of the day, we must think about the athlete and the best outcome for them.
Isometrics could be the main neuromuscular stimulus if you are trying to maximise isometric force output, or they could be an auxiliary lift at the end of a program. The latter is more common in sport environments.
You can prescribe traditional lifts first and still get relatively good quality loading in hip and ankle iso-push exercises or switches when using them as assistance lifts.
For example, athletes come to the gym and complete their regular individual preparation. They then do 3 x 3 heavy back squats, then another 3 x 3 of an Olympic lifting derivative or loaded jumps. Next are some plyometric exercises like skipping, single leg drop jumps or hurdle hops. This keeps all of the traditional loading, but in small doses. The athletes are effectively warmed up and not fatigued for the isometrics that follow, whatever they may be.
Another way is to prescribe isometrics as part of complexes. An isometric push followed by a box jump, for example, or an isometric push to a traditional lift such as a pin loaded squat.
Complex training makes it possible to train within different spectrums of the force-velocity curve. Danny Lum wrote an excellent article on integrating isometric exercises with traditional strength training by combining plyometrics and isometrics with his cyclists and kayakers.
One final way to integrate isometric exercises within the training program is to prescribe “functional isometrics,” where a concentric lift flows into an immovable lift, creating a pushing or overcoming isometric. For example, the concentric lift of deadlift off the ground becomes a push-isometric when the bar hits the pins and no longer moves while the athlete continues to pull with maximum force. This could also be considered a holding isometric, because gravity wants to pull the bar down.
This hybrid exercise could also be completed as a switch, a push and, potentially, a hold – all three in one.
Tweet ThisWhen I discuss isometric training, I am never advocating for completely removing traditional strength training
@alex_natera
How do you use pushing isometrics (PIMA) over holding (HIMA)?
Not all isometric training is the same. PIMAs reflect a failed concentric muscle action, while HIMAs resist an eccentric muscle action. Understanding this has further implications when deciding the type of isometric muscle action to prescribe.
The type of isometric training you do should be based on the SAID principle (specific adaptation to imposed demands). PIMA exercises may reflect and support more concentric biased movements like block starts, acceleration or a concentric dominant jump like a volleyball block jump. HIMA exercises may be a more appropriate stimulus if the sporting movement tilts towards the eccentric demand, such as sprinting or changing direction. In those movements, the lower limb muscles resist further flexion of the hip, knee and ankle.
There is a time and a place for both PIMA and HIMA exercises in your overall programme.
PIMA exercises like the single leg knee iso-push evoke a large neuromuscular output with high level athletes pushing up to 5-6x bodyweight.
Within the annual periodised plan, PIMA exercises should be used when the goal is to enhance maximal strength. High intensity, short duration PIMAs of 90-100% for 3-6 second efforts employ the intent to move as fast as possible, with more time afforded to attain maximal force output. As competition periods approach, you may prescribe more ballistic PIMA exercises like the knee iso-switch or shift the focus to rate of force development. The duration of repetitions can range from 0.5 – 3 seconds, with a clear intent to move quickly to generatre force as quickly as possible, rather than achieving maximal force.
I am beginning to understand that PIMA exercises are also a great precursor to developing maximal force and RFD, prior to transitioning back to higher intensity HIMA exercises and, finally, more advanced ballistic HIMAs.
Some of the best training transfers I have seen are when athletes move from completing the holding exercises to quasi-isometrics, like the knee iso-switch.
How do you programme holding (HIMA) isometrics?
HIMAs refer to the scientific term for what coaches know and understand as yielding isometrics. These are muscle actions that resist flexion or extension of a joint(s) by applying opposing forces equal to the mass being held. Anecdotally, HIMAs are used widely in practice but have received little consideration from research. Consequently, the true neuromuscular adaptation to HIMA training for performance is still relatively unknown.
Practitioners often prescribe HIMA loads of a corresponding traditional strength exercise like the back squat. You might prescribe a maximal duration isometric at 50% 1RM at a 90 degree knee angle for a 30 second hold. This is a simple way to provide loading parameters for HIMAs. But the major issue with this method is that isometric muscle actions produce higher levels of force than their equivalent traditional strength exercise, and the range varies considerably across individuals.
Coaches should quantify the maximal PIMA at similar joint angles to more accurately prescribe HIMA loading.
Ideally, you can measure the maximal force during run specific isometrics or more traditional isometric exercises like the squat and mid-thigh pull. If the athlete’s maximal output is 1000 N, the practitioner could prescribe the heaviest holding exercises at 70 – 80% of the maximal isometric force in whatever joint position you have chosen.
Remember that if you are using a force plate you need to subtract your bodyweight from this output. Otherwise, the load will be too heavy.
I prescribe HIMAs around the athlete’s ability. If they can only manage 10 seconds of maximum holding, I’ll prescribe intensities as low as 50 – 60% of maximum force. This could go as high as 80% maximal force if the holds are for very short durations of high intensity work. There’s a range of what people can do for short duration holds, and coaches need to be aware of that.
Longer duration holding isometric muscle actions will be in that lower range of force output for therapeutic purposes, such as reducing pain perception.
Two final factors to consider with HIMA prescription based on maximal PIMA values are the difference in self-regulation, and how the athlete is feeling on the day, both mentally and physically.
Maximal strength fluctuates from day to day. A holding isometric at 70% of PIMA might represent an RPE of 5 on one day and 7 on another. To address this, the athlete should perform a maximal PIMA prior to the HIMA exercise so the coach can program the load more accurately.