
When rehabilitating a hamstring tendon repair, what would the first 6-7 weeks typically look like? Is the approach beginning to change?
The initial weeks following almost any surgery are typically quite slow, and it is important to collaborate with the surgeon and adhere to their post-surgical protocols. The surgeon is the person who has seen the true extent of the tissue damage and how well it has been repaired, so this relationship is vital.
The standard recommendation post-hamstring intramuscular tendon repairs is six weeks without loading the affected hamstring complex [1, 2] to protect the healing tissues and promote optimal recovery [3–7]. Given this starting point, the expected return to play time can vary from 16-20 weeks, depending on structure, position, athlete level, etc. [1, 2, 3]
During that span, you want to do as much quality work as possible around that restriction. That way, when loading can commence, no other factors hold you back.
It’s important to find out how all stakeholders, including the player, define “fully rehabilitated” for this player, and what adaptations – physical, psychological, technical, tactical, habitual – you can go after at each stage. Once the wound is satisfactory and infection risk is low, you can begin global strength work, off feet conditioning (if needed) and modified sport specific skills. But it can be a slow process for the athlete.
We challenged this approach slightly in our recent case study [8]. With the surgeon’s consent, we introduced deliberate strength training, specifically low jerk ramping isometrics, starting nine days post operation and extending through the rest of the initial six weeks (we gave the player the first week off-site to recover).
There is an increasing amount of research that early loading can be safe in non-operative cases [9, 10]. However, very little exists for optimal post operative loading [7, 11].
In this case, the early loading allowed the athlete to progress more quickly than normal to higher intensity strength training, running, training (10 weeks post op) and eventually play at 12 weeks post op.
While the case study is a step toward potentially improving rehabilitation, it’s still an initial exploration of this approach and an isolated case. Since then, we have used similar approaches effectively with other acute tendon injuries, both post op and conservative. However, we need more research with larger sample sizes and diverse patient populations to establish definitive guidelines and evaluate the long term outcomes [7, 11].
Any changes to post operative protocols or return to play times will inevitably be dictated by the respective surgeon and are likely to vary case by case.
How did you use ramping isometrics during the early loading phase during RTP?
In the immediate days following the operation, I reached out to Keith Baar, whom we had previously consulted for chronic tendon cases, to inquire about his lab’s research on acute tendon injury. He recommended ramping isometrics, a protocol where the athlete gradually increases the intensity of isometric contractions over approximately five seconds, maintains the contraction for 20 seconds, and then slowly releases the load over another five seconds. This approach seemed sensible and aimed to decrease strain rate while allowing the necessary directional load through the tissue to promote proper matrix orientation [12]. We discussed this possibility with the surgeon and got the green light.
The isometrics began with “heel digs” within the permitted range of the brace, gradually progressing from inner range to outer range.
We used the Activbody Activ5® load sensor device, which provided real time feedback on contraction time and force output via a phone app. This allowed for progressive overload between sessions and provided the athlete with tangible measurements of their progress. The benefit over force plates was that the athlete could take the device home for additional loading in the evening. We typically recommended loading bouts 6-8 hours apart [13], with nutrition protocols timed prior to loading[14, 15].
Given the novelty, we felt combining autoregulation (RPE) [16] with the live feedback was sensible.
Following an initial session at RPE 5/10, the athlete completed four sets with approximately two minutes of rest between bouts. That served as a baseline from which to progress intensity each session, pain free.
As the athlete progressed in range, we split sets between different joint angles (e.g., two sets inner range, two sets mid-range) to bridge any gaps and address angle specific deficits, if necessary.
Tweet ThisIn the days following the operation, we used ramping isometrics. The athlete gradually increases the intensity of isometric contractions over approximately five seconds, maintains the contraction for 20 seconds, and then slowly releases the load over another five
@power__david
At what point did you introduce isotonic exercises? What did that look like from an exercise selection and progression perspective, and how did the early introduction of the ramping isometrics influence that timing?
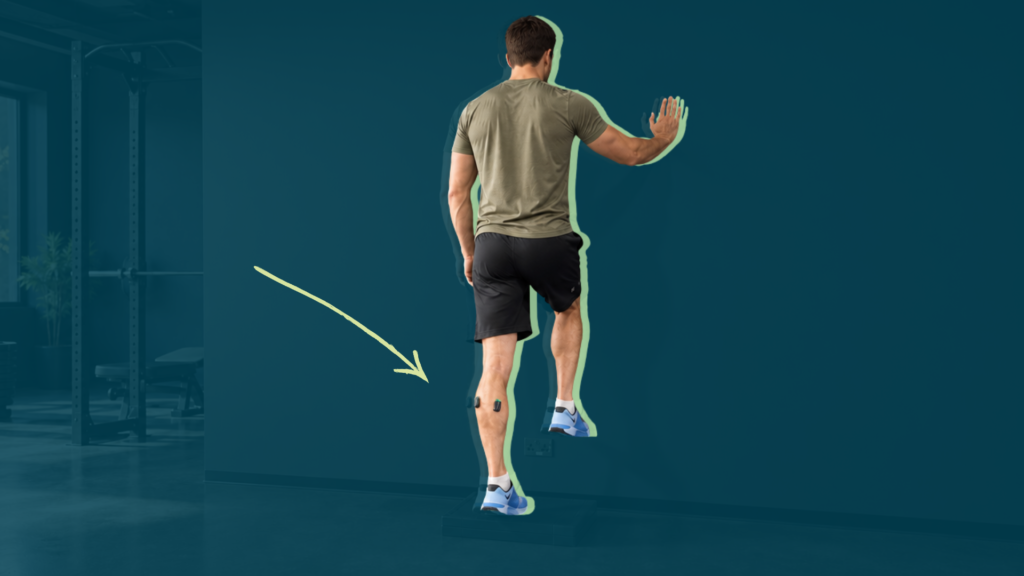
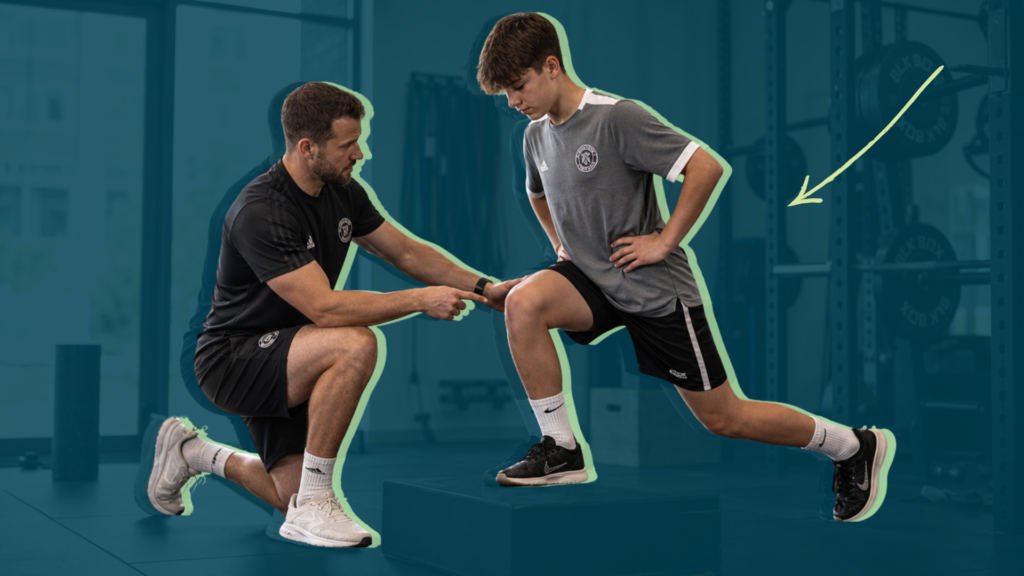
Like the principles of the low jerk isometrics, isotonic loading started with exercises that were slow and controlled. Four weeks and three days post operation, the player started incorporating long submaximal yielding isometrics with Romanian deadlifts (RDL), split stance RDLs, and split squats in a Jones machine to reduce degrees of freedom.
To safely bridge the gap, these exercises gradually progressed to submaximal eccentric quasi-isometrics, with a longer time under tension per rep (~40 seconds), where the player holds the load for 10 seconds at quarter range, slowly drops to half range, holds for another 10 seconds, and if comfortable, drops to closer to full range.
The goal was to increase confidence in tolerating slow loading throughout the range of motion, ultimately leading to a return to compound lifts.
Due to comfort levels, at the end of week four he resumed slow isotonic bilateral RDLs, hip thrusts, split squats, single leg goblet box squats, and combined these with isometrics of increasing intensity. Alongside this, hamstring loading involved progressive bridges off boxes at different ranges, starting from inner to mid-range and eventually outer range and progressing from bilateral to split stance and finally to unilateral and loaded versions. Additionally, a single leg machine leg curl strengthened the knee dominant role of the hamstrings and built towards the eventual introduction of Nordics.
To supplement the exercises when load was compromised, blood flow restriction (BFR) training was used with the 75 rep protocol [17].
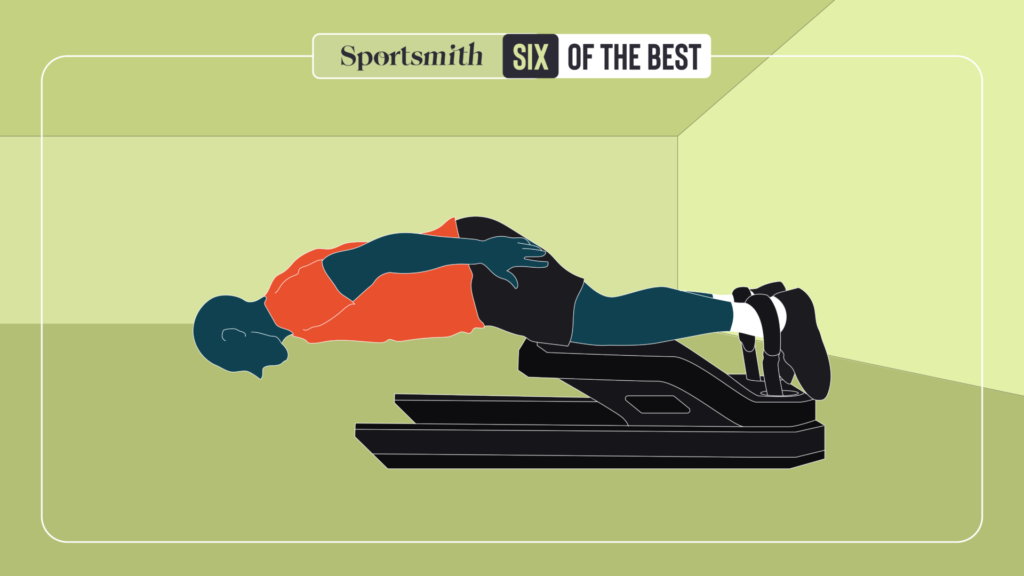
Knee dominant work eventually progressed to AEL SL leg curls, assisted full Nordics, and assisted single leg Nordics. Hip dominant work progressed to manually resisted SL AEL reverse hypers, eccentric reverse sled marches in deep hip flexion and AEL SL RDL with added rotation.
The ramping isometrics were not the sole factor in the player’s recovery, but they provided a sensible, safe and measurable means of early tissue loading. It’s only one form of early tissue loading, and you could argue about dosage, intensity and other variables, However, they certainly served as a gateway for the earlier introduction of other strength training, testing and return to running, training and play.
Tweet ThisThe ramping isometrics were not the sole factor in the player’s recovery, but they provided a sensible, safe and measurable means of early tissue loading
@power__david
What nutritional guidance would you recommend for an athlete rehabbing a hamstring injury repair?
It’s not my role to give specific advice, so my first recommendation is to speak to the team nutritionist or dietician. It’s vital that medical and performance staff have consistent communication with the nutritionist to ensure the athlete is meeting energy demands. Certain injuries might warrant a player to be lighter to mitigate reinjury risk, others the opposite. As a multi-disciplinary team, we wanted to go after body composition changes, while also looking to maximise healing and recovery.
Our nutritionist, Simon Wallis, was on top of this, and from day one the player took daily supplements of omega-3 fish oil and two turmeric shots to support the reduction of excess inflammation [18, 19]. On training days, he would consume 20g of hydrolysed collagen in shot form (we have made batches of gelatine squares for the squad in the past) along with 80mg of vitamin C one hour before training, and would do this during breakfast on non-training days [14, 15].
If you’re programming strength & conditioning for an injured player, it’s useful to know what the player is aiming to take in, and how much fuel is on board.
Working with the nutritionist to adjust energy intake to meet the demands and goals of training is important, and the player focused on consuming protein every three hours, totalling 40g per intake [20], aiming towards 2.3g per kilogram of body mass daily [21]. Similarly, to help promote muscle mass development in the immobilized limb once loading commenced, the player began creatine supplementation.
These supplements seem to be quite commonplace in professional sports currently, and I’m sure there’s more research out there since this case was written. But it’s more important that the player has the basics nailed down to underpin these.
With all of this in place, regular body composition testing is always important to know that training is effective, and it can help you and the nutritionist guide programming of the next training block and keep the player motivated.
What outcome measures do you use as a gateway to return to training following the hamstring tendon repair?
The return to training isn’t a sudden event. We look to drip players into elements of positional drills and units as soon as deemed safe, to keep them aligned with the group and minimise performance anxiety upon return.
With any injury, it’s important to have longitudinal baseline data and an understanding of their outputs, asymmetries and movement quality when fit and available. We would have “general” criteria, which we feel players should reach to train, such as jumps, Nordics, calf raises and overall training loads (Tables 1 and 2). These are the minimum standards to work towards in the return to play. They are guides rather than rules, and players may tick every box but still have movement quality or psychological readiness issues to address. It’s important to note that these are criteria to train, with more stringent criteria to be reached prior to RTP.
| Exercise | Criteria |
| Max velocity | >92% baseline |
| >90% max velocity | x2 days/week |
| “Worst case” (~100% regular) weekly training loads | >85% |
| Scrum, breakdown and contact level | 0-4 |
| Coach-led pitch session | Minimum of 1 |
| Peak game intensity session | Minimum of 1 |
| CMJ, SLCMJ, DJ (30cm), SL repeated hop | <10% LSI/>90% baseline |
| Nordic peak force | >4.5N/kg, <12% LSI/>90% baseline |
| Seated calf peak force | >1.5x BW |
| Body composition | =/> baseline |
| UB/LB push/pull relative strength/power | =/> baseline |
| Exercise | Criteria |
| Max velocity (>92%) | x2 days/week |
| Nordic peak force | >4.5N/kg, LSI <12% & >100% baseline |
| ISO 45:45 peak force | >95% LSI, >85% RFD |
| ISO 90:90 | >95% LSI, >85% RFD |
| ISO 90:20 | >95% LSI, >85% RFD |
| SL 60cm hamstring bridge capacity @ BW/60BPM | 10% LSI |
| SL AEL RDL x1.3 BW predicted 1RM | <10% LSI |
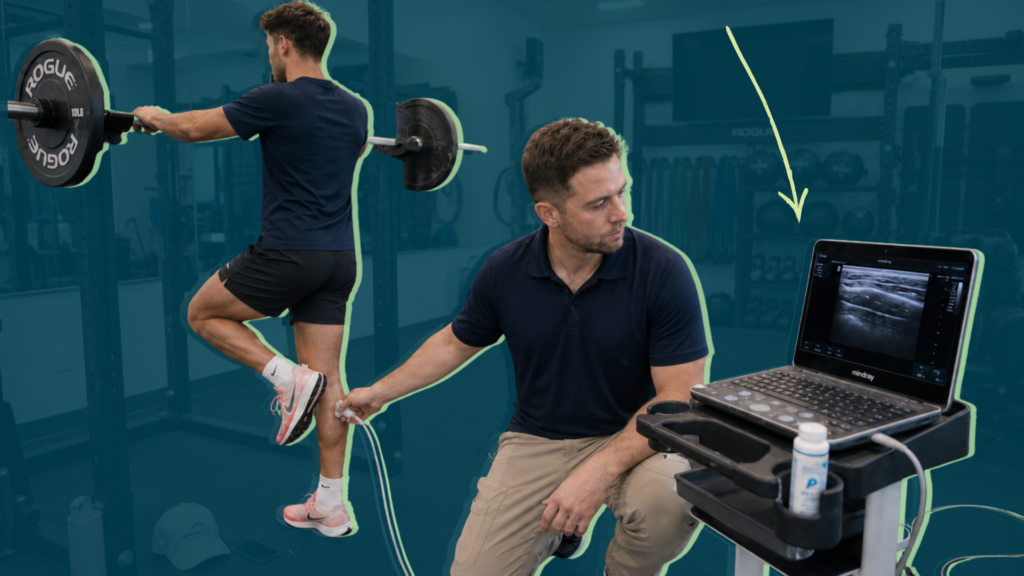
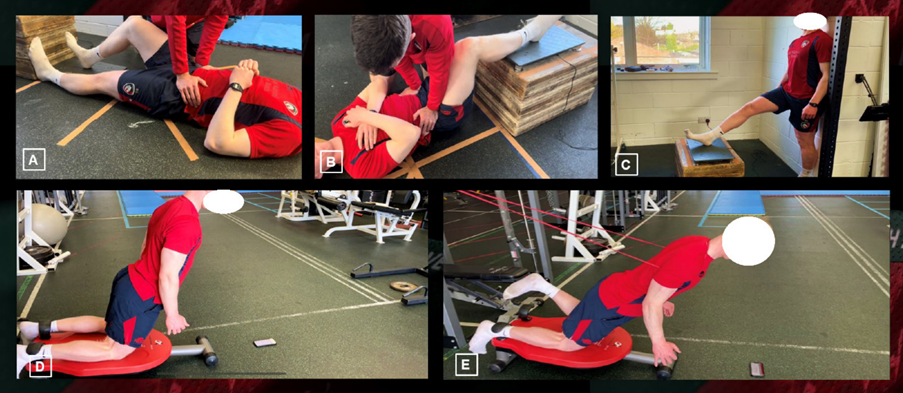
In this case, we tested the knee dominant isometrics at 45°:45°, 90°:90° [22] and hip dominant 90°:20°[23, 24], emphasising the standing test as a more representative measure of outer range hip extension peak force and slightly more specific to the mechanism.
Isometric force tends to return quicker than eccentric strength, so Nordics quickly become our knee dominant eccentric focus. Although we would have liked to add isokinetic dynamometry at various speeds for further insights into peak torque angles and asymmetries, unfortunately, COVID restrictions prevented this.
Hip dominant work is tougher to train and test eccentrically. However, we have used an AEL SL RDL (two up-one down) as a crude measure of eccentric hip dominant strength.
On pitch, you naturally place extra emphasis on very high speed (>70% max velocity) and sprint (>85% max velocity) distances. Baseline sprint kinematics and video can also be helpful for technical comparison. However, in this case, due to the injury mechanism, we focused somewhat less on sprinting and more on the chaos of the breakdown, contact and scrummaging, with specific progressions for each aspect.
A conditioning session that simulates the worst-case scenario of game intensities can be beneficial. But regardless of how ready we believe a player is, there’s often an intensity gap between conditioning sessions and team training, especially considering that many teams now train at a higher intensity than the game demands.
Ideally, you’ve built a sufficient volume to allow for a deload as you monitor the return to team training, to buffer for the added stresses involved in full training.
Tweet ThisRegardless of how ready we believe a player is, there’s often an intensity gap between conditioning sessions and team training, especially considering that many teams now train at a higher intensity than the game demands.
@power__david
How do you ensure that the player maintains strength or even improves it once he returns to training following an injury like this?
Maintaining a strong relationship with the player and ensuring they understand the importance of ongoing rehabilitation is crucial. It is essential to emphasize that tissue healing often continues well beyond return to play. Players need to know early in the rehab that they will have an injury legacy to continue to manage for some time post-RTP.
In most cases, players will remain on an individualised gym program with additional pre- or post-training top ups, and it’s important to strategically choose appropriate days and times for loading. For example, it may be sensible to schedule additional eccentric strength work post pitch prior to a scheduled day off, to optimize recovery.
In the team setting, creating a culture where players regularly engage in pre- or post-training extras at the gym can be valuable.
The environment should be informal enough to allow for some fun, while still focusing on doing the necessary work. Each club may have different systems in place, but it is important to designate staff (whether medical, S&C, or sport science) to program and oversee the progress of individual players.
To maintain buy in, it’s important to set measurable objectives and conduct pre- / post intervention testing.
For instance, if a player has returned to play but still exhibits lingering deficits, practitioners should design specific interventions aimed at improving those areas and monitor these regularly. In the past, we have designated different members of the staff to be in the gym post training on certain days to give the lads a hand with any extras or testing that they need to do. Putting a staff member there probably adds some accountability for players, but also shows the players that we, the staff, value it.